1) Map your needs
- Cover entries: gate, driveway, front/back doors. One indoor zone for context.
- Mount 2.2–2.7 m high. Avoid pointing into direct sun or at public roads.
- Plan cable routes and 12 V DC power where needed. Keep joints weatherproof.
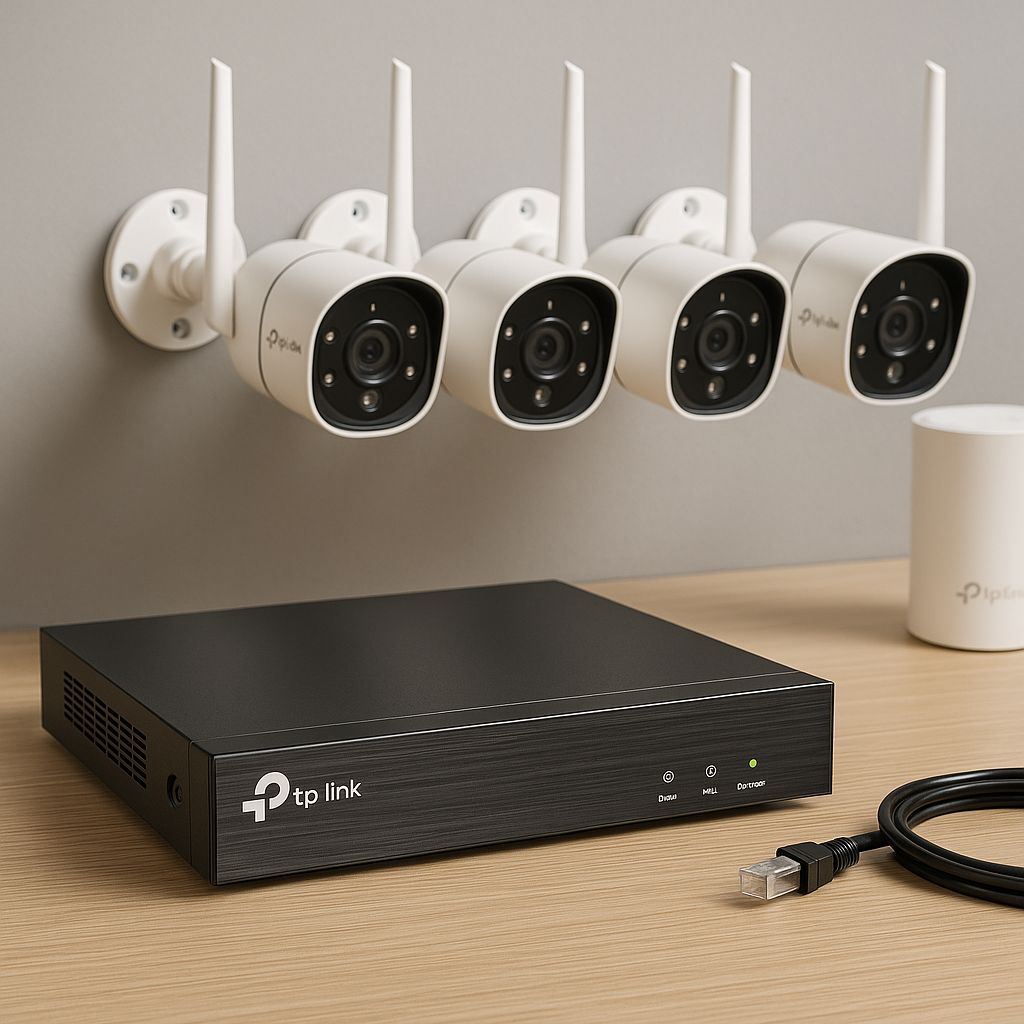
2) Pick TP-Link cameras
| Model | Use case | Notes |
|---|---|---|
| Tapo C310 | Outdoor fixed | 1080p, IR night, 12 V DC + Ethernet, microSD, Tapo app |
| Tapo C320WS | Outdoor low-light | 2K QHD, starlight sensor, 12 V DC + Ethernet, microSD |
| Tapo C200 / C210 | Indoor pan/tilt | 1080p/2K, PT control, privacy shutter, microSD |
| Tapo C420S2 kit | Wireless kit | Battery cams + hub, easy install, good for rentals |
| VIGI C230/W230 | Pro/PoE option | 2×2K variants, PoE, ONVIF-friendly, pair with VIGI NVR |
Note: Most Tapo outdoor bullets use 12 V DC power. If you prefer 802.3af PoE, use TP-Link VIGI cameras and a PoE switch/NVR.
3) Prepare network & power
- Give cameras good Wi-Fi or wired Ethernet. Mesh (Deco) fixes dead zones.
- Static IPs simplify NVR/NAS integration. Example: 192.168.10.50–.59 for cams.
- Time sync matters. Ensure router NTP works. Wrong time breaks clips.
- Power: 12 V DC adapters per cam or PoE only on VIGI. Add surge protection outdoors.
- UPS for router and any switch/NVR. See sizing in “Load-shedding.”
4) Install hardware
- Mount brackets at planned angles. Seal wall penetrations.
- Run Ethernet where possible for stability. Use UV-rated outdoor cable.
- Power up each camera near the router first. Complete setup before final mounting.
5) Configure in the Tapo app
- Install Tapo app. Create or sign in to a TP-Link ID.
- Tap + → select camera model → follow pairing prompts (Wi-Fi or wired).
- Name each camera clearly: Gate, Driveway, Lounge.
- Update firmware if offered.
- Insert microSD (Class 10/U1 or better). In app: Storage & Recording → format card → set Continuous or Detection recording.
- Set time zone to South Africa and verify correct time.
- Set image: flip, rotate, WDR/low-light, spotlight (C320WS).
- Network: if you use static IPs, set DHCP reservation on the router.
- Local admin (for NVR/NAS): enable account/password if offered. Keep a record.
6) Recording & storage choices
- On-camera microSD: cheapest. Enable overwrite oldest. 128–256 GB gives many days at 1080p.
- Tapo Care: cloud clips and longer history. Handy if a camera is stolen.
- NVR / NAS: central storage, multi-cam timelines, easy export. Use if you want 14–30 days across many cams.
7) Add an NVR / NAS (optional now, easy later)
- VIGI NVR: connect cams to LAN/PoE (for VIGI). On NVR, run Add Camera → discover → enter camera credentials → select stream (main/sub) → pick retention.
- NAS: install surveillance app → Add camera → ONVIF or RTSP → enter IP, username, password, stream profile. Test live view. Set schedule and retention.
Tip: Some Tapo models expose ONVIF/RTSP after enabling in the app and creating a camera account. Use the URL shown by your NAS/NVR wizard or the camera’s info page.
8) Motion zones, smart detection, and alerts
- In Tapo app → camera → Detection & Alerts:
- Activity zones: draw polygons around gate/door. Exclude road/trees.
- Sensitivity: start mid (40–60%). Raise if you miss events. Lower if too many alerts.
- Detection type: basic motion for budget models. Use person/vehicle where available.
- Schedules: only alert at night or when away.
- Notifications: push only, or push + thumbnail. Keep contrast between cams with different sounds.
- Enable privacy mask for neighbor property areas you should not record.
- Test: walk through the zone. Confirm push arrives and clip is saved.
9) Privacy, security, and reliability
- Unique strong passwords per camera and per TP-Link ID.
- Disable UPnP auto-expose on your router. Use the app for remote access.
- Reserve IPs in DHCP. Label devices.
- Keep firmware up to date. Reboot schedule optional weekly.
- Use privacy shutter on indoor PT models when home if desired.
10) Load-shedding resilience
- Small DC UPS for router + ONT + switch (30–60 W total). Aim for 4–6 h runtime.
- For 12 V cameras, add small inline UPS modules or power them from a DC UPS rail.
- Sizing quick rule: UPS Wh ≈ total W × required hours × 1.25 (losses).
- Battery Tapo kits (C420) continue recording without mains. Ensure the hub is on UPS.
What will it cost?
| Tier | Typical spec | Ballpark hardware* |
|---|---|---|
| Starter | 2× Tapo C310 + 1× C200 + 3× 128 GB microSD | R2 000–R2 800 |
| Comfort | 3–4 cams (C310/C320WS mix) + 1× C200 + DC UPS | R3 500–R5 000 |
| Expanded | 6–8 cams + VIGI NVR or NAS + PoE/UPS (if VIGI) | R7 000–R12 000+ |
* Hardware only, typical SA pricing; installation and cabling vary by site.
Troubleshooting quick table
| Symptom | Likely cause | Fix |
|---|---|---|
| Choppy video | Weak Wi-Fi, low bitrate profile | Move AP/mesh node, wire the camera, lower FPS/bitrate, prefer 2.4 GHz for range |
| No push alerts | Notif off, schedule mismatch | Enable notifications, check app permissions, verify detection schedule and zone |
| Wrong timestamps | NTP or timezone | Set SA timezone, confirm router internet time, reboot cam |
| NVR can’t add cam | Credentials or discovery blocked | Use static IP, confirm camera account/password, enable ONVIF/RTSP, allow discovery on LAN |
| SD card fills fast | Continuous at high bitrate | Use detection recording, reduce bitrate, enable overwrite oldest |
FAQ
Do I need an NVR immediately?
No. Start with microSD or Tapo Care. Add an NVR/NAS later for longer retention or more cameras.
Can Tapo work without internet?
Yes for local recording and on-LAN viewing. Internet is needed for remote access and cloud backup.
Do Tapo cameras support PoE?
Most Tapo bullets are 12 V DC. If you want PoE, use the TP-Link VIGI range and a PoE switch.
How many days will 128 GB store?
At 1080p 15–20 fps with motion recording, expect ±7–20 days per camera. Continuous is less.
This guide is informational. Follow local security and privacy laws. Use qualified installers for permanent wiring.